Showing posts with label Indigo. Show all posts

Friday, February 18, 2022

Week 10 - in the Studio

I was dragging my butt to get several totes and sketchbooks finished to send to my retailers - I need quite a few and it seemed like I was climbing up a long, tall mountain. But I got them all done and my, they do look nice! I'll be making more for my Etsy Shop and finally figured out how to dye a good range of colours for the linings....


I spent a few hours working on the publicity for Gathering the Threads Conference, an SDA-Vancouver Island/BC+Yukon event planned for the Cowichan Valley, June 15-18th, 2022. You can find more information here: https://gatheringthethreads.ecwid.com


We're still clearing out boxes of old photos and documents - I bought some decorative totes for each of our kids and they'll get everything from school records and their baby books - no more room in our house! 
And I discovered some luscious old vintage pages from a scrapbook, a soft velvety feel to them and I love how the edges are slightly browned. I've started making some marks on them, I have one page set aside as the "test" page to trial ideas...these are so precious! BUT, I am determined to use them, not saving them for some unknown day in the future...that will probably never come!


My "test" piece with white acrylic paint and indigo acrylic ink


I love the rich yellows in the paper...


I mixed the paint and ink together - love the blues


Still lots to do on each page but I'm working carefully and slowly, planning each step....an unusual process for me. I often rush through and then the results are haphazard. This time I will go forward with more planning and purpose....I wonder if it will work?

And I had a studio visitor this week, she didn't hang around very long!


Thursday, December 16, 2021

My Week - My Studio

 Many attempts in writing a blog post where I feel I need to be profound and deep....sigh! But I thought for the next while I'll share my ideas, exercises and experiments in the studio over the past week. I'd love to have feedback and perhaps you have some similar or very different ways of working that you could share with me and other readers.

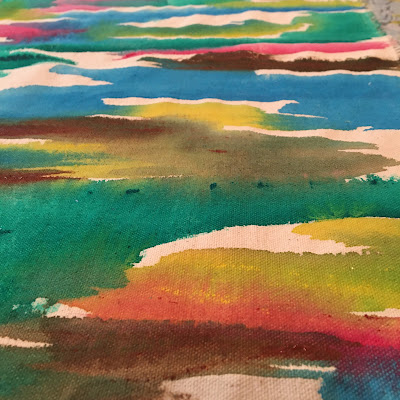
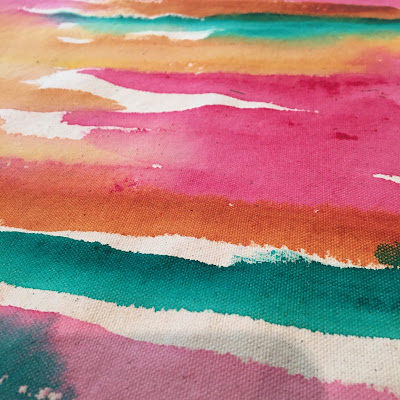
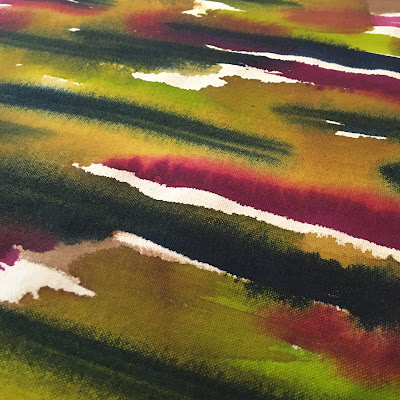
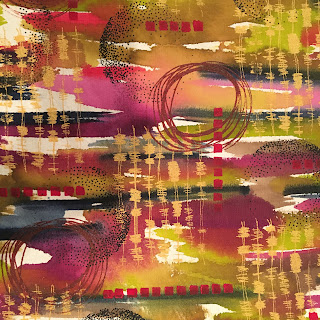
I've been selling my sketchbooks and totes in local galleries and in my Open Studio, so it was time to paint up some more canvas. I use a 7 oz. unprimed canvas and then paint a layer of clear gesso (diluted 75/25 with water) to provide a good tooth to grab the colours. These are three different colour combinations;


I then add imagery with thermofax screens and stencils over all the canvas, trying to complement the colours and theme of the  background/base colours. Each image takes time to dry, so I usually take a couple days to add enough to satisfy me.


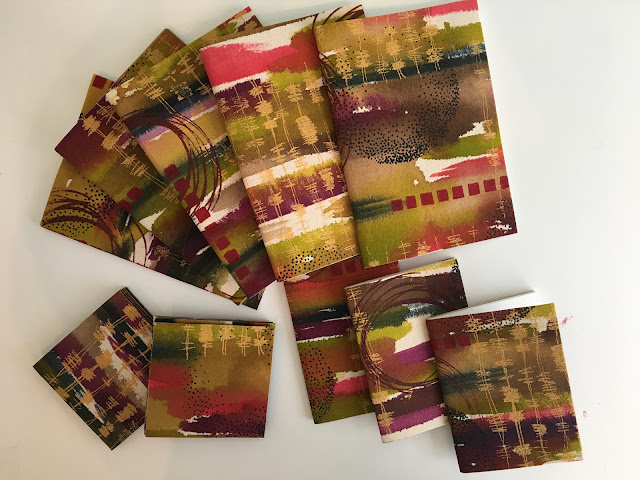
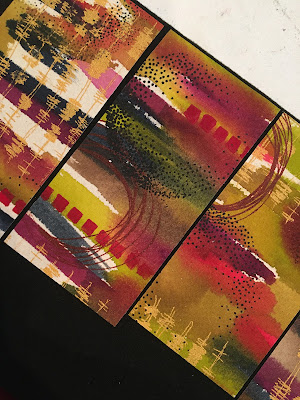
These are the small and medium size sketchbooks that I cover with the painted canvas, I love that each one is different from the other. Cutting different areas of the canvas provides a bit of serendipity!


Then, from the smaller pieces, I back them with felt for coasters. I had precut the pieces and fused to the felt with a bit of a margin, I loved how the black framed the canvas and gave me an idea for making totes or small purses/folios with some black wool....someone else suggested hats and I thought they might have a slight "Cossack" theme to them!

*****

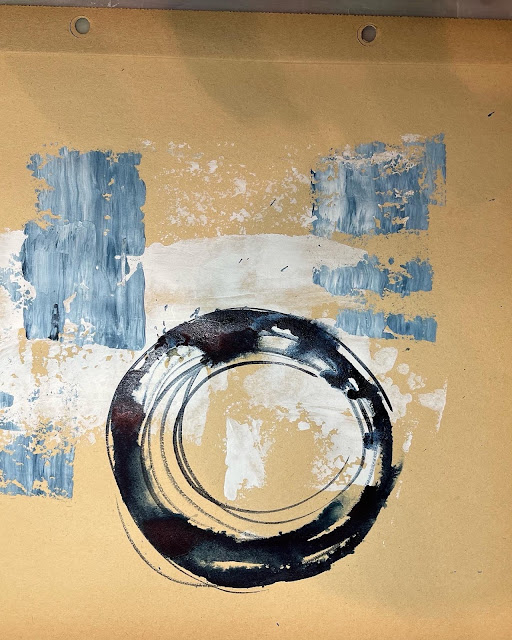
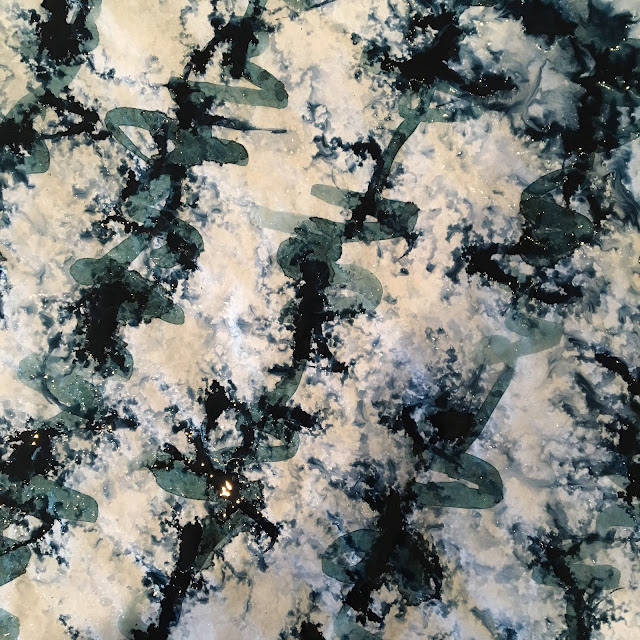
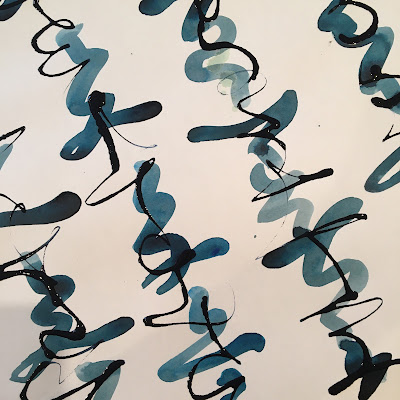
I was clearing off some papers on the table and thought Id add some more marks with my favourite acrylic ink - Daler & Rowney Indigo - I just used the little dropper thats inside the wee bottle and ran it over the surface of tissue paper. In the one below I then spritzed it with a spray bottle.


Even if it never becomes anything more - I love seeing the colours moved over the paper and bleed around the edges.

These next two were painted on and left to dry - I definitely think they will get more work done - not sure quite yet what that might be!


*****

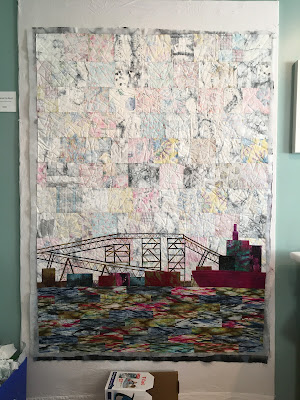
My big accomplishment this week was to finish quilting a new piece that has been waiting ever so patiently! I had open studios, some traveling and other commitments so it took a while to get back to it!
Its fairly large - 45" x 60" but lighter than some of my previous work, I tried using Thermore for the batting and it was ever so much easier to get through the machine!


Here it is pined up on the wall, I check over carefully for loose threads and making sure Ive not missed quilting any areas. I am pleased that the difference in batting seems to keep it from distorting and it may not need to be blocked.


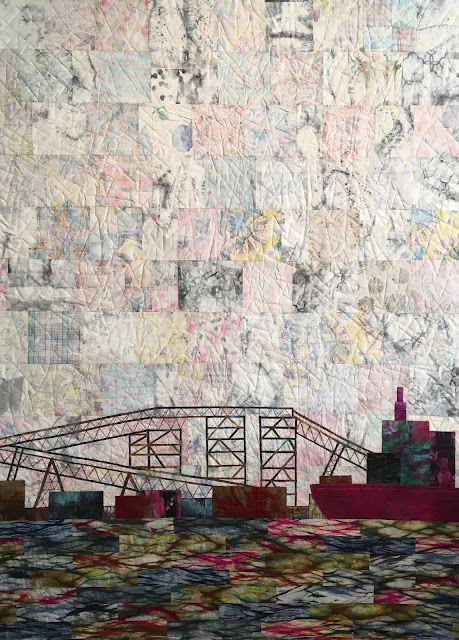
Here it is cropped and looking a little tidier. Once I have added the facings I will put it back up, adjust the lights and take the formal "beauty" shots for the website and submissions. I'm still thinking of a title and am leaning towards "On the North Shore" as the photo was taken of the docks on the north shore of Vancouver - any other ideas?


I cut and sewed the strips for the facings and laid them down on my table...I loved the way the neutrals all looked so soft and relaxed...

******


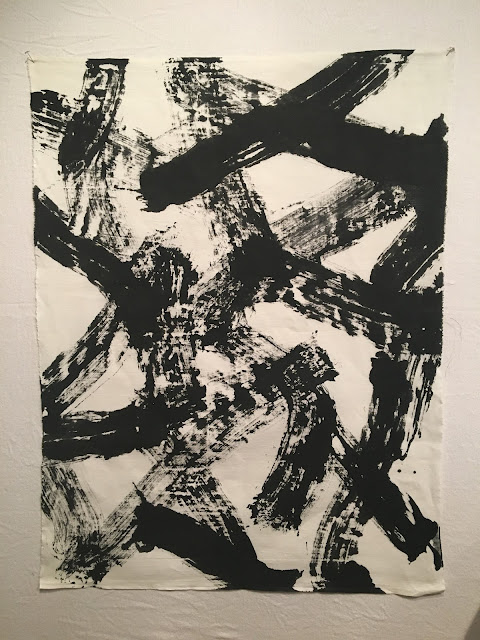
I'm cutting you up...yes I am! Every couple of months I take this piece of painted linen from the drawer and put it on the design wall...its about 25" x 35". I want to cut it up into squares and rectangles and I'm trying really, really hard to not make it "too precious" thinking that I'll ruin it....if it doesn't work out I can make something different! Do you find that a struggle too? Fear of Messing Up - FOMU - theres really no reason to think that way, but....

*****

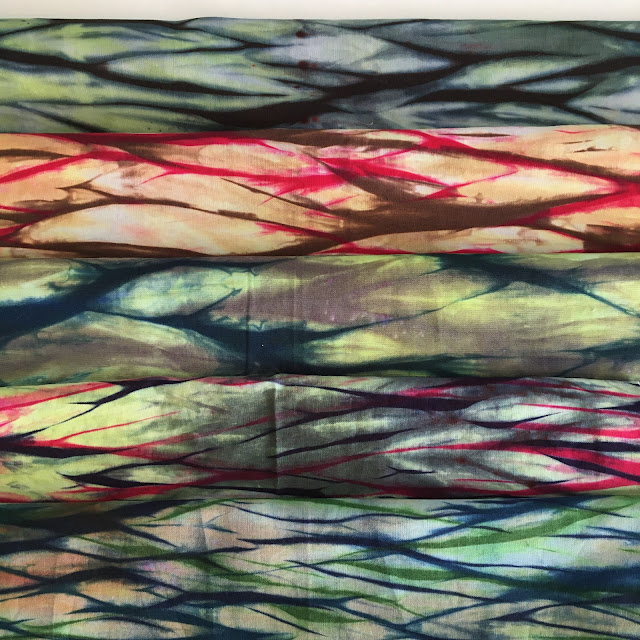
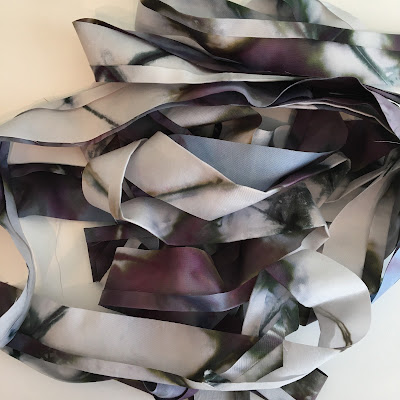
More Shibori Shiraz....in between times I made more Shibori fabrics using my Shiraz technique - so easy to do with wine bottles and juice jugs....I have a very good blog post explaining my process here: 


*****

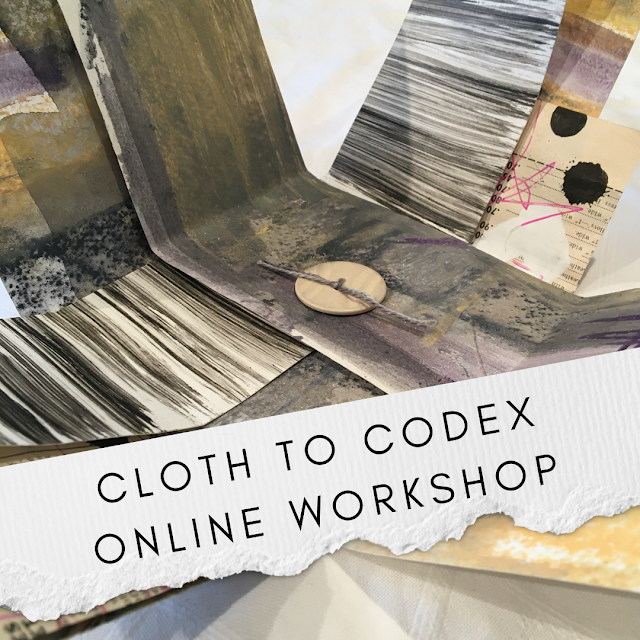
Finally - leaving the best til the last...I'd love for you to take part in my upcoming workshop Cloth to Codex Online - seven weeks of wonderful creating with books, scrolls and folios - jammed with great videos, a private Facebook Group and Zoom meetings - you can get all the details here:


Not too bad a week, I guess I got quite a bit done and it feels good! How about you?


Sunday, August 1, 2021

New Work - The Magic of Blue

 Lately, I've been leaning towards more mixed media work, incorporating/combining both paper and fabric together and using mark making with collage for a series of work that focuses on the beauty of indigo. I have found an ink that is very close in hue to natural indigo and love using it with black and white mono printing as well as text.

I have built a webpage that is dedicated to small, new works for sale and I hope to rotate small collections through the page with a reasonable price point. This first exploration I am titling The Magic of Blue!

Enjoy these few and then have a look further here: https://www.susanpm.com/the-magic-of-blue-collectors-sale/


Monday, June 27, 2016

Thinking It Through - Line

I just returned from two weeks holiday spent exploring the northwestern part of British Columbia - this is our year staying closer to home..... when traveling I've been know to take different kinds of holiday snaps. Texture, line, shape are the elements that interest me, mountains and water falls are nice, too.....My DH has even suggested that I might consider having people in the photos....why, I asked?

We visited the North Pacific Cannery National Historic Site http://www.northpacificcannery.ca/ and thoroughly enjoyed learning about some early BC history, the impact that the fisheries had on the economy and the diversity of people who worked at such places. I snapped away with my IPhone (they take good photos!) and have come home to edit and play around to see what I could do with the images.....messing about in PhotoShop!

So think about canned salmon and the process:

these are the lids used on cans when they were soldered with lead to seal them.....

using a colour filter

rotating the image - those lines are wonderful

repeating the image in an irregular grid

cropping the image and turning into indigo with another colour filter

repeating the image several times

cropping the image and rotating it again. Does this say Shibori?

Now you might ask, why do this? As you know I work with fabric but this kind of work/play in PhotoShop gives me more ideas to explore the next time I want to work in an indigo vat, cut fabric, plan a new Thermofax screen or design in my sketchbook. The editing didn't take long, if something doesn't appeal to me then there is always the "undo" button and its another way of working and seeing.
Are you developing designs this way? Tell us about it.....


Friday, May 14, 2010

Image Transfer

I'm teaching my Photo Illusions class at the North Carolina Quilt Symposium, http://www.charlottequiltsymposium.org/ June 3-6. In the class we'll spend a little bit of time trying some image transfer techniques.


I just finished this little hanging using gel transfer onto silk noile. I had indigo-dyed some linen for the outer border and also fused on a piece of batik as the inner border. Then I hand quilted the piece with some dyed perle cotton. It was a great take along project , simple but effective. Just rmember its impossible to hand stitch through the gel transfers!
To make image transfers such as this you will need:
  • a photo copied image -not inkjet. 
  • soft gel medium - I prefer the matte finish
  • a brayer - any size
  • fabric
  • brush
Apply gel to copy, covering image. It may take a little practice to get the right amount, make certain the surface is covered but not goopey. Doe the same of the fabric. Cover the same size area as the image.

Place gel covered copy face down onto the fabric.


Sandwich in between layers of wax paper to protect your table surface and brayer.

Brayer over all the area in one direction. Flip over and do this again. Let dry for 24 hours. Do not iron.

To remove the paper: soak in a tub of medium hot water. Starting from the centre, gently rub the paper off in a circular motion using your finger tips. Blot dry with a towel. Repeat if necessary to remove all paper fibres.

Make several at one time and you are ready to use them when the mood strikes.