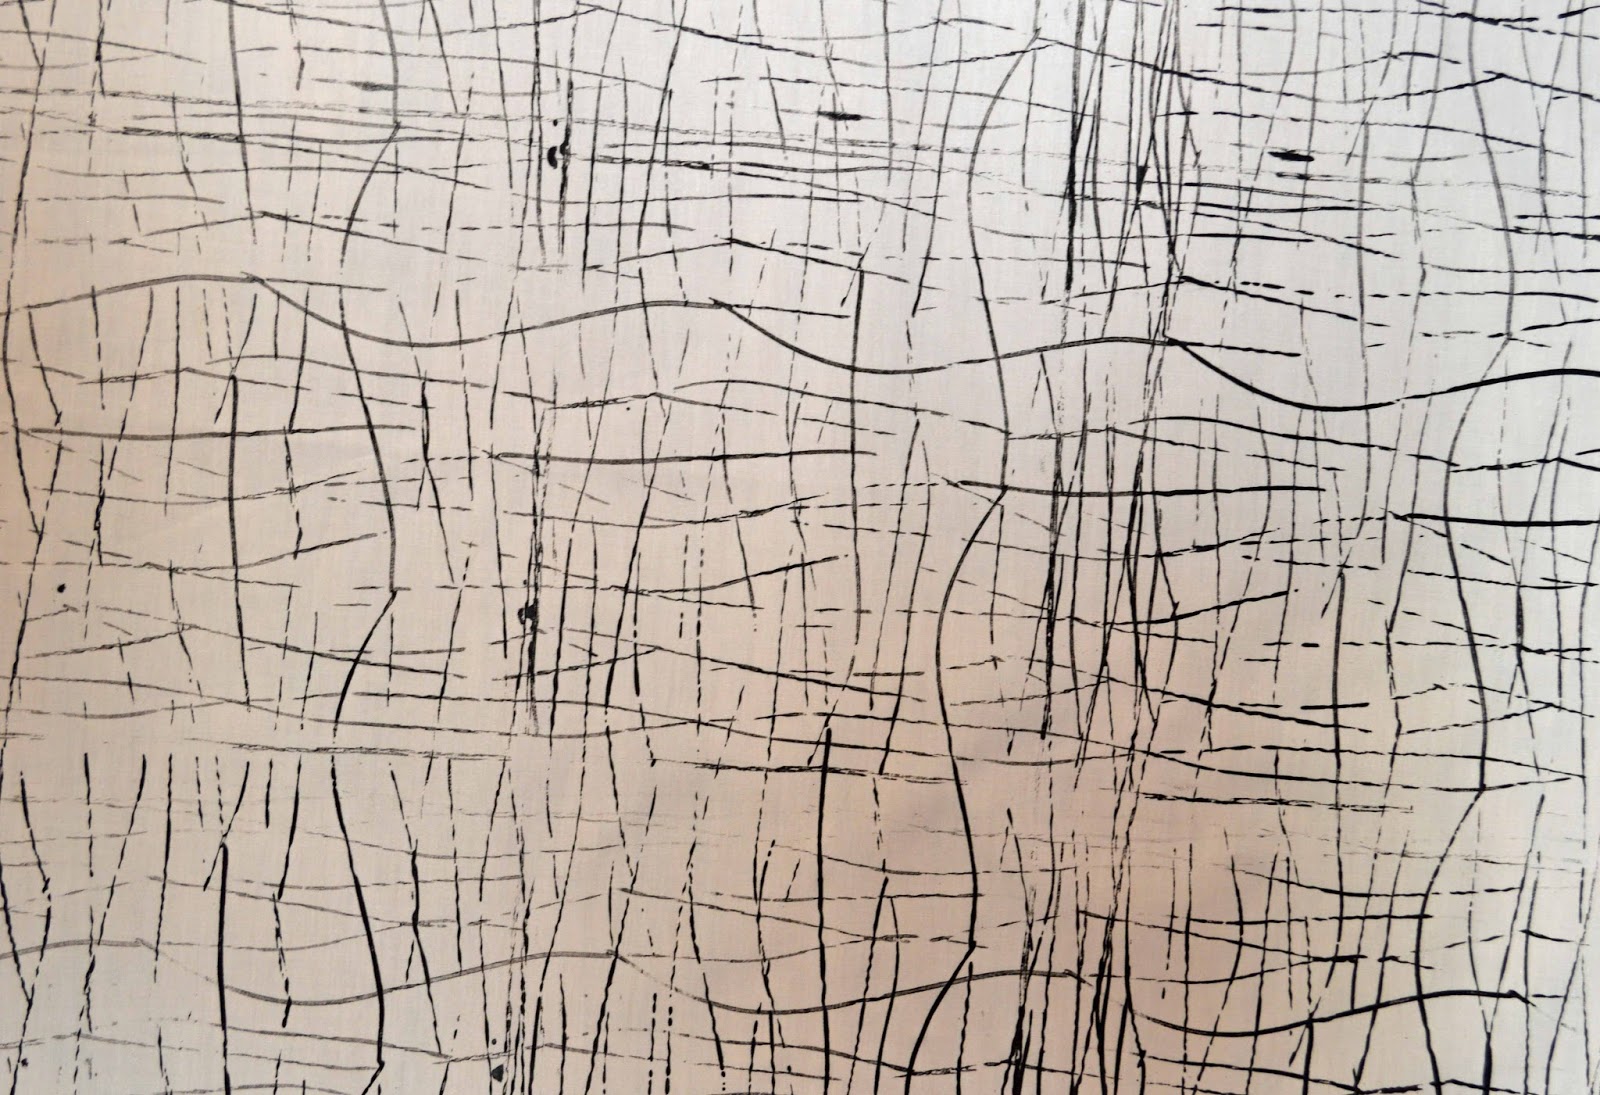
Showing posts with label simple marks on fabric. Show all posts

Thursday, August 8, 2019

Quiet - Not Quiet!

The last couple months have been quiet in some ways...I've not being creating a lot of new work, mostly getting small items ready for summer gift shops, finishing some half started work, entering a few shows and having a ton of fun with our grandchildren! Swimming, walking, kayaking and just hanging out at the beach.
But....after a long hiatus of teaching due to some amazing travel opportunities, I returned to the classroom and spent three wonderful days at Quilt University with the Ann Arbor Quilt Guild.
My first workshop was Colour Blocking - using thickened dyes through a silk screen and printing onto prepared fabrics. It was so much fun - enthusiastic students, a great workspace and wonderful printing!

You can see the wonderful combinations possible when mixing the dye on the screen.

Lana marked the fabric with yellow before screening on top.

We pin the fabric on a print table to keep it stable.

Arlene has a great colour combination going! Analogous colours are a great way to start.

Dee Dee is drawing onto the fabric prior to printing - another technique choice!

It's possible to move the scraper to create patterns!

I supplied the students with fabric that I'd painted with black paint. since the workshop was just one day it worked out very well to have something extra to print on!
On Days 2 and 3 the students worked in Squiggle, Line & Dot Mark Making, learning a few of the limitless ways to put pattern and texture onto fabric and paper.

We begin by using just one tool to find as many ways as possible to apply black paint to white fabric...

Here's some of the ways you can mark with just one tool!
and here's a few more ways....
And still more....
Remember that there's such beauty in simplicity....repeating the same over and again creates timeless patterns!

We worked with black textile markers, they are so versatile! Did you know that you can buy refillable ones?


Sometimes we had to wait and let the fabrics dry...that was hard to do!
And not just black on white...you can work with white paint onto dark fabrics too!
I think all the students would agree that the most fun was working outside. Students taped their brushes to yard sticks or poles and let their movements make their marks! First we practised on paper...

And then we worked on two yard pieces of fabric!


Doesn't that look like fun!

On the second day we focused on using some of the fabrics for small books, cards, folios and such. I like students to leave class with more skills and ideas for creating their art!


I am excited for my students to see some of the options for making art!
If you like to join me...why not take my Squiggle, Line & Dot Online Workshop HERE: https://www.etsy.com/ca/listing/615595100/squiggle-line-dot-online-mark-making?ref=shop_home_feat_1

Monday, September 10, 2018

It's Been All Black and White....

Even with lots of visitors and fun this summer, I've managed to get a fair bit of work done - some of it the essential paperwork but also the essential art work! I've made some more books and found that to be a very welcome creative release - make one that leads to another and another and another - just the way it goes....

I made several small-ish books that were totally fun and then a few more serious....I had some beautiful linen that came from a thrift store or something - it has the most luscious drape and hand to it. I knew I want to use it for something special and I've dyed some and also painted on some of it - just big circles....then I added torn strips of shibori that really seemed to echo the lines so nicely.

Tide Lines


Tide Lines - unfolded

The long strips were pressed on the fold lines and the book is bound only in the centre, then the folds/pages come into the centre.
I'm so pleased that Tide Lines will be part of the Victoria Arts Council  - Celebration of BC Culture Days to be held at the Cedar Hill Arts Centre, September 20-30, 3220 Cedar Hill Road. Please stop by for viewing!

Monday, July 24, 2017

When Visitors Create Art....

About 10 days ago I was part of the Moss Street Paint In, you may have read about it in previous posts....I was asked to 'engage" with the public and decided some "mark making" would be a good way of inviting people to make marks onto my fabric! while adults were a little more reticent, the kids got into this in a big way! No surprise there!


I think there was a total of 6 panels produced and I've heat set the paints and photographed them. They will be used in my art at some point, I love some of the cool designs that were made!


 This one is my favourite.....
Did you miss seeing me and getting your mark on the fabric? Come to the Sooke Fine Arts Show on Monday, July 31st! I'll be doing a Squiggle, Line & Dot Demo, I hope to see you there!

Wednesday, March 1, 2017

Why the Dinosaur needs a House...or Desert Island Designs Great Kick Off!

I did have the shoe box ready to pack, but it seems as though a group of dinosaurs needed a house and so....my grandson and the homeless T. Rex won out!


Another similar box was found and I've assembled the different items that I'll be using for March to make art. Where did this idea come from? There were a couple of different issues that have bothered me for a time and I thought it would be worthwhile to work through them and see where I was led.

First, an issue that attacks all of us from time to time is a surplus of stuff...we don't just have fabric, we have yards and metres and piles of it, we don't have just a couple kinds of paints, we have textile, transparent, opaque, watercolour, silk, airbrush, a multitude of colours and varieties. We have an overabundance of threads, needles, books, mark making tools and much much more! And in our culture we often tend to run after the latest and greatest...we see something new at a workshop and instantly it becomes the "must have" item that we order online that very night!
Does all this help us to make more and better art?

Years ago I lived in England and would listen to BBC radio and a programme titled "Desert Island Disks", the premise was (and its still running, by the way: http://www.bbc.co.uk/programmes/b006qnmr ) that the guest would choose a number of discs (records) to take with them to a desert island. So this idea of "Desert Island Designs" has come about with ONLY a shoebox of supplies to take to our "virtual" desert island for a month.

Secondly, this ties in with my idea that that we often make excuses to not make art because we don't have a certain "essential" item, a particularly thread, a "perfect" fabric....and so on! So smack me on the head....just get on and make the art! No excuses, no what ifs, just get down and DO IT! With what I have NOW, not what I wish I had!

For the month of March, I'll be working out of what I manage to cram into my shoe box (ok similar to a shoe box....) to make ART. Not just samples, but art that I finish, ready to mount and hang!

Why not join in? If you can't manage a month, try it for a week, or work on it every Thursday, or whatever! We have a Facebook Group to join in as well!
https://www.facebook.com/groups/392488947773739/

PS. You don't have to be a textile person...why not an acrylic artist or a watercolourist?

So here's my box that's packed and ready to go.....

 2 metres of PFD fabric and a few pieces of linen thats been hanging around in my bins for years...it was expensive linen when I bought it years ago....it's time to use it!


A small sketchook and some Khadi paper, I'm thinking I'll do mark making on the paper, ear it up and combine it with some of the other fabrics and add stitching.


I've put in a small bottle of India Ink and brushes, both for fabric and paper.


A Thermofax screen is essential - one designs used in many ways!


A Gelli plate, brayer and black Neopaque paint - a million options with these tools....


Lino cutting tools and my last, precious block of Mastercarve. I think it's the best product ever made, hands down, too bad it's discontinued! It's time to use the good stuff! 


 A selection of threads for hand stitching, instead of feeling that I have to bring every last thread to my Desert Island, the key is to limit the palette, look for variety in value and texture.


 A Colour wheel, always an essential item! Some Inka Gold for highlights, a washout marker, needles and pins and a shaper tool for more marking.


A selection of little bits of fabrics, some fusible web and Misty Fuse.


Some fabrics I've marked and painted, mostly 10" or smaller, for cutting and stitching.


There's also some scissors in the pile somewhere! 

Other artists have chosen to add wool felt, cotton fabric, indigo dyed fabrics, pencil crayons, grid paper,  inktense blocks, procion dyes, soda ash, stamps, thread, needles, paint palette, fibres,beads, dippity do, cup, ruler, Angelina, water baste resist, pencils, basting glue,sponge, paint palette and a dusk mask....what would you bring?

Monday, February 13, 2017

Mark Making with a Print Roller

In my previous post about mark Making we looked at a simple, everyday tool to create texture and pattern onto fabric. This time we'll open some kitchen or studio drawers to find another tool to again create those exciting images on fabric!


You can use simple cardboard tubes, sturdy, thicker ones are best, with elastic bands or sticky shapes. Try different widths of elastic bands, string, rick rack or anything with a flat surface that you can adhere to the tube.

Rolling pins that have been carved in patterns are also an option as are foam rollers, used as is or with elastic bands or string pulled tightly to make an interesting surface.


Remember that I'm usually cutting out areas from the fabric, rather than using it as an entire piece, perhaps even cutting it on the diagonal....


These are all simple but so effective...you can probably think of many options!

Here's my latest Mark Making video!